In a previous post – Understanding Azure On-premises Data Gateway – I tried to explain how the Azure On-premises data gateway works. This post is the next step and shows how to install the On-premises data gateway
Before going ahead, you should consider :
To install the Azure On-premises Data Gateway, download and launch the installer following this link: https://go.microsoft.com/fwlink/?LinkID=820931&clcid=0x409
Click next on the first screen of the On-Premise Data Gateway installer.

Then accept the terms of use and privacy statement (of course you can read it before), choose the installation folder and click “Install” button.
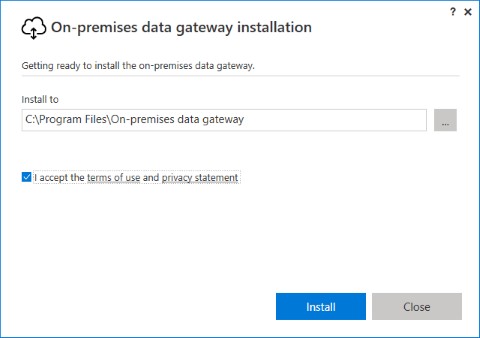
Now wait until the Data Gateway is installed.
As Azure On-premises Data Gateway is now installed you should register it on Azure. When you are prompted, you should connect with your Azure account (school or work account).
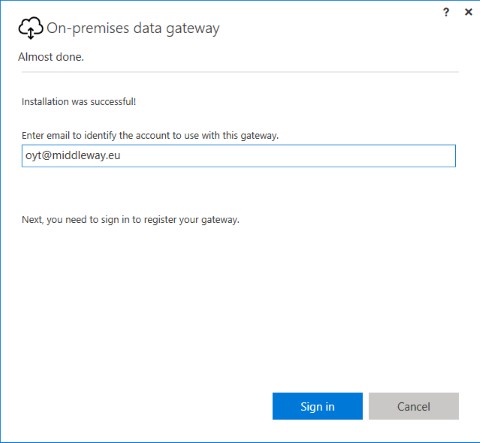
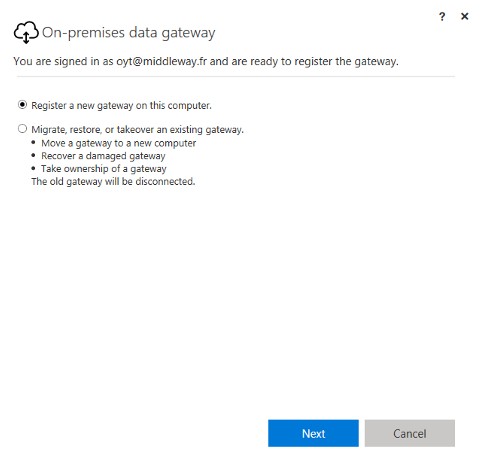
Sign in with you Azure account. On the next screen choose “Register a new gateway on this computer” and click Next.
Now choose a name for your gateway and choose a recovery key – this key could be used to restore the gateway. Before going ahead make sure the region used to connect to the gateway is the region you want.
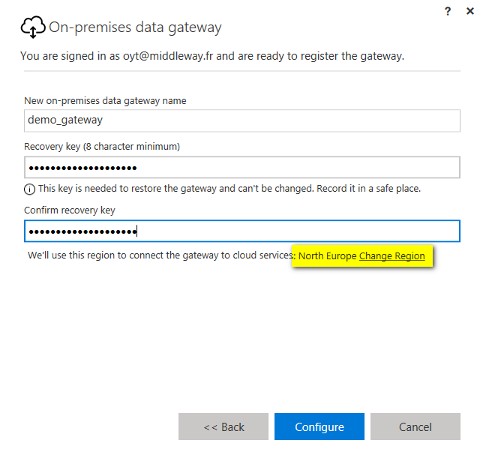

If it is not, click on the Change Region link, choose your region and click on the Done button.
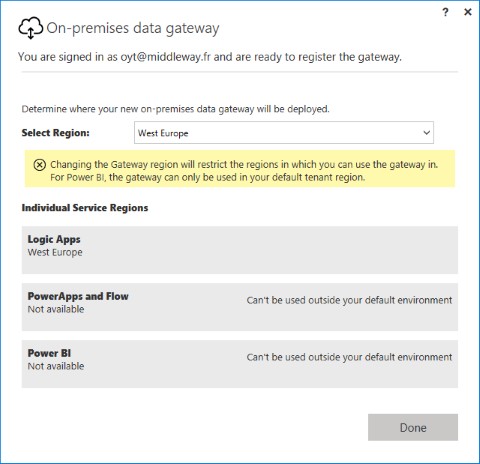
Once region is chosen, click on the “Configure” button
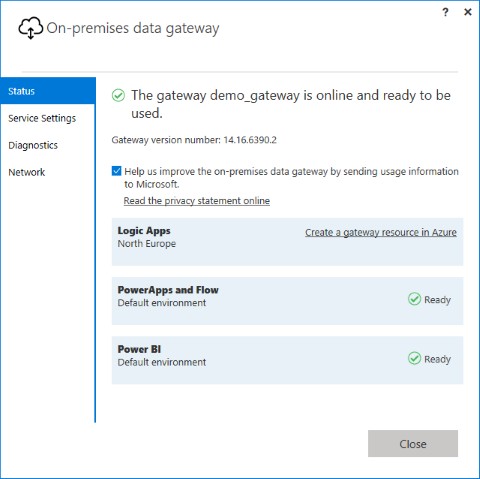
It’s now all done. Your Azure On-premises Data Gateway is installed and ready to use. Yes it is installed on premise but in order to use this Gateway in an Azure Service, you should create a connection to that Gateway. Now let focus on the connection gateway to create on Azure. Sign in Azure Portal and create a new Service.
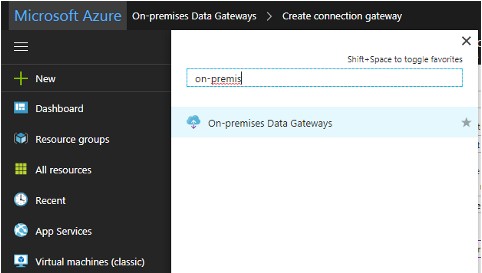
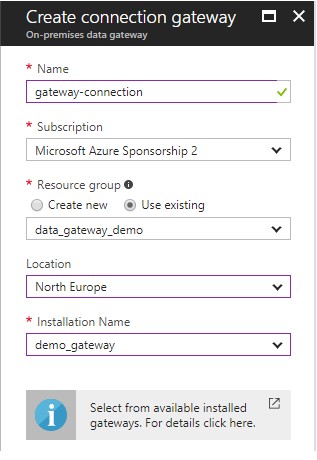
Connect to Azure portal and then choose “On-premises Data Gateways” on service list and click on Add on the new window. We will add a new gateway connection on the Azure side.
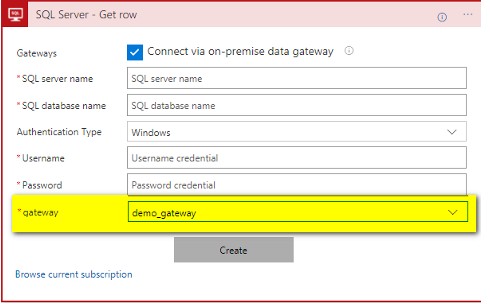
Choose a name, the subscription and the resource group. For the location, you should use the same you have configured while installing the gateway on premise. Click on the “Create” button to create the connection.
Connection is now ready to use. In the following picture, it is used in a Azure Logic Apps step.