
Deploying and variabilizing an Azure Data Factory (ADF) on different environments by exporting its ARM template can quickly become tedious. Even more so when the number of flows to be exported increases. There are potentially hundreds of pipelines and datasets that quickly make the ARMS complex, hard to read and hard to process.
Conversely, it is possible to automate (almost) everything in order to manage many ADFs in a variety of environments, without the need to process any ARM template. At the end of this article, a simple deployment pipeline on Azure DevOps will be sufficient to manage the updating and deployment of your ADFs from the development environment to the production environment.
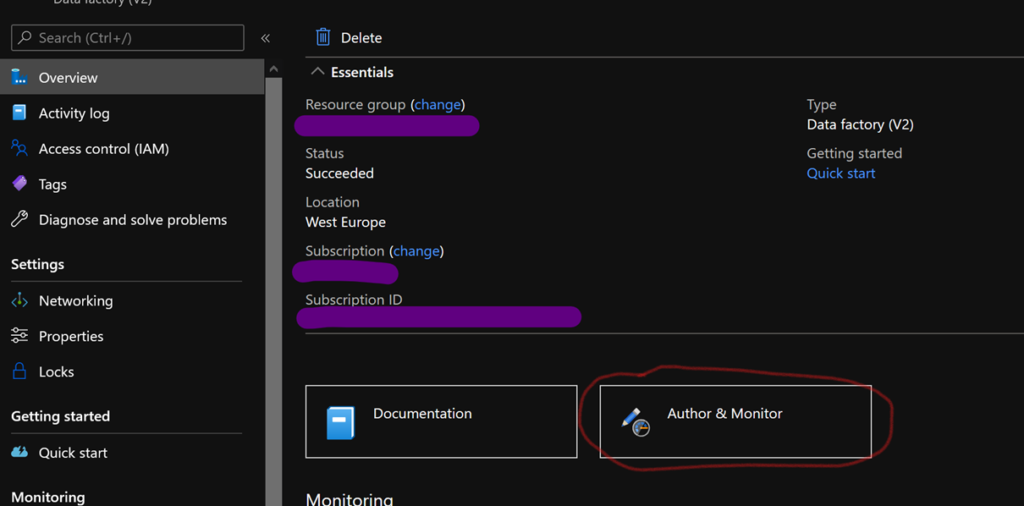
The first thing to do is to connect the development ADF to Git. To do this, select the corresponding ADF in the Azure portal, and then select “Author & Monitor”.
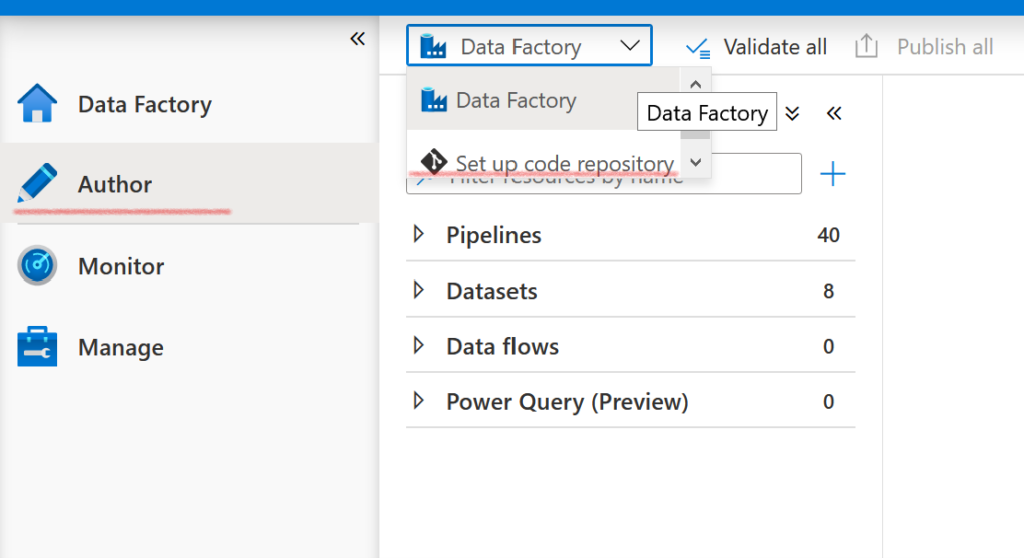
The ADF interface opens. In the “Author” tab, click on “Data Factory” and then “Set up code repository” on the drop-down menu.
Our ADF must then be associated with a Git repository available on Azure DevOps. You can choose to create a new directory or use an existing one. In any case, note that ADF uses two different branches (in this example, master and adf_publish). The first contains the up-to-date ARMs, with one file per pipeline, dataset, data flow, etc. The second generates a complete ARM from the ADF and all of its components that are already variabilized. This is the branch we will use to deploy our ADFs automatically
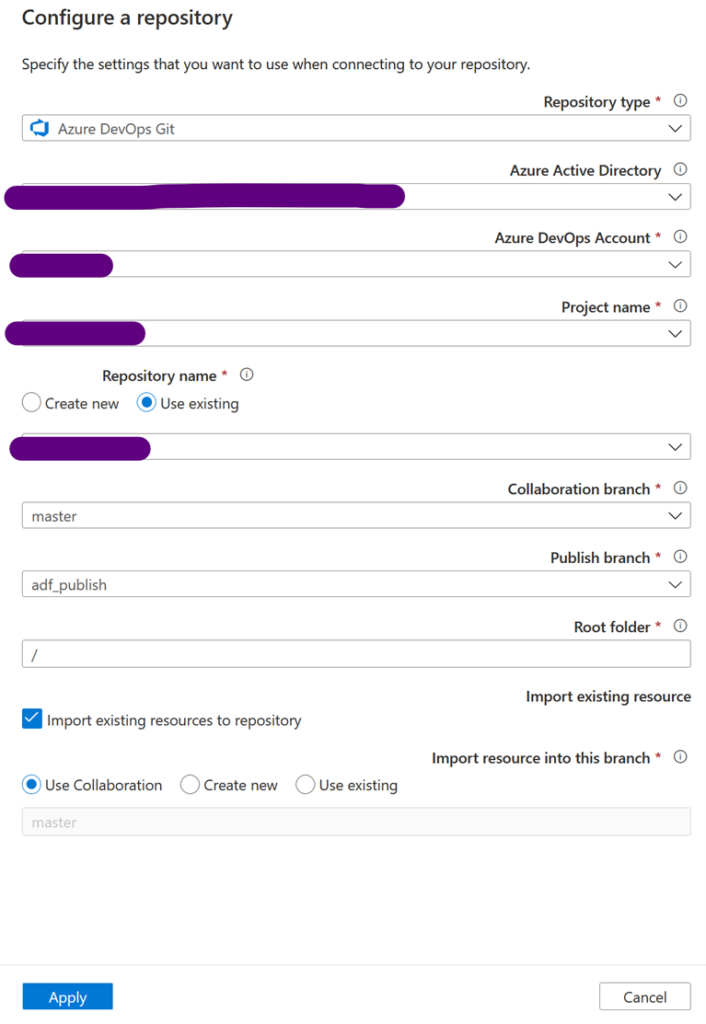
Note: you can work on other branches, but only the code published from the master branch will be deployed on the development ADF and will be automatically generated in the adf_publish branch.
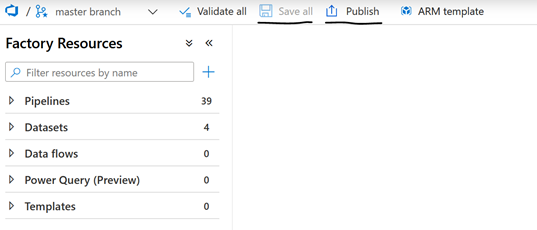
More specifically, when you work on the master branch, each new back-up will be stored on Git, but only publications will lead to the generation of a complete new ARM of the ADF on adf_publish.
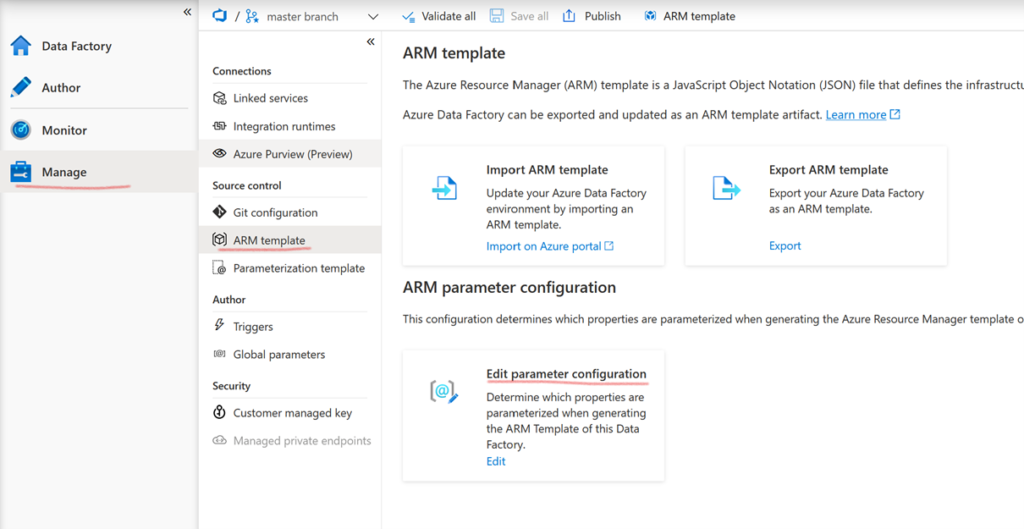
If this template is automatically variabilized, how this is done can be more accurately controlled. In this article, we will use the default variabilization. But remember that you have the option to modify the generation by going into the “Manage” tab, and then “ARM template”, and then “Edit parameter configuration”. More information here.
After, we will use secrets contained in keyvaults for maximum automation of the continuous integration and then deployment of our ADFs. To do so, it is necessary to authorize the ADFs to access the keyvaults they need.
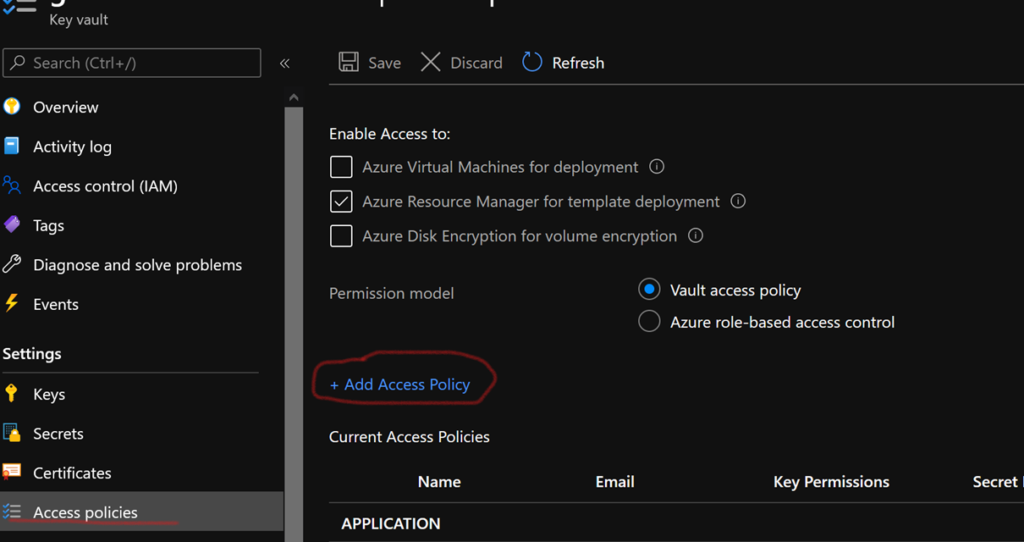
You can manually authorize an ADF to access a keyvault. To do so, in the keyvault interface, select “Access policies” and then “Add Access Policy”. In “Secret permissions”, select Get and List. Click on “select principal”. A drop-down list opens. Find your ADF and add the new policy. Your ADF can now access the secrets stored in the keyvault!
However, for a continuous deployment approach, it is best to script the access rights to the keyvaults for your ADFs. To do so, you can add the following code to the ARM template of the keyvault in the “accessPolicies” block:
"accessPolicies": [
          {
            "tenantId": "[subscription().tenantid]",
            "objectId": "[parameters('adf_object_id')]",
            "permissions": {
              "keys": [],							],
              "secrets": [
                "Get",
                "List"
              ],
              "certificates": []
            }
          }
]
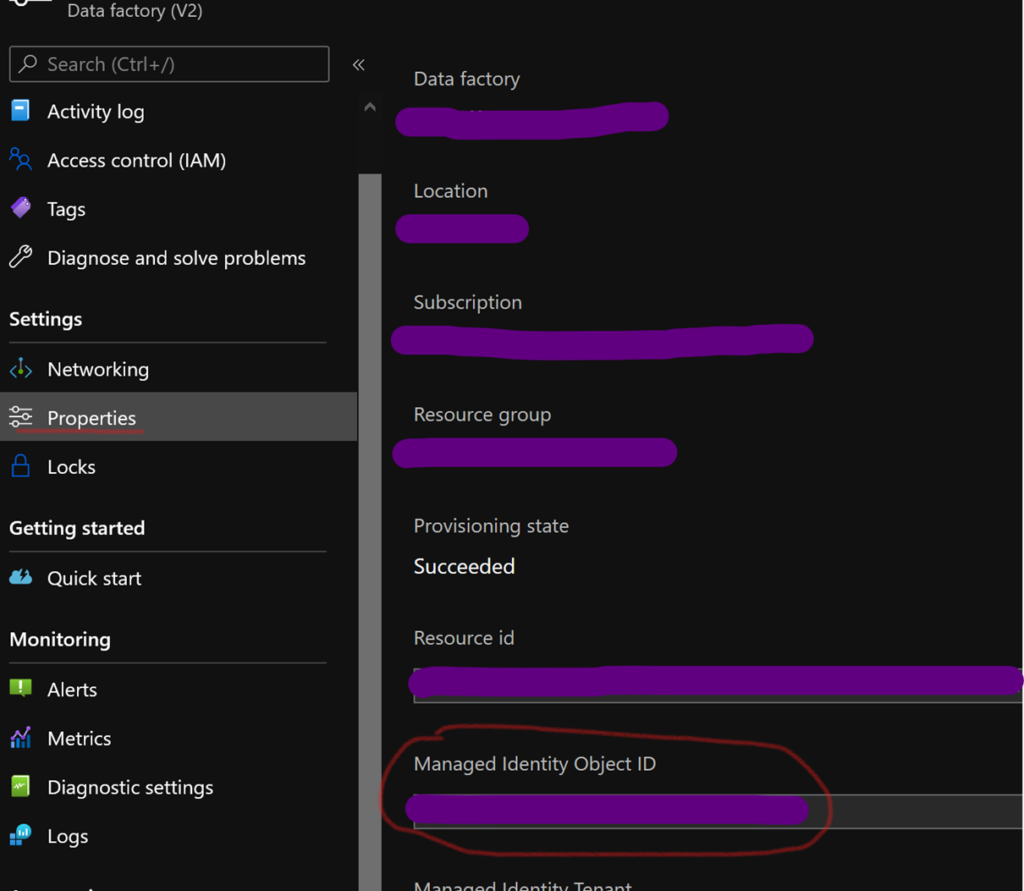
“[parameters(‘adf_object_id’)]” refers to the object ID of your ADF. You can find it in the “Properties” section of an ADF, under “Managed Identity Object ID”. It is declared as a parameter of the ARM to try to reuse our keyvault ARMs as much as possible in our different environments.
To make the most of the automatic generation of the ARMs of our development ADF, we will use a simple approach: always go through a URL or a secret to configure a dataset. In fact, they are variabilized by default when the ARMs are generated.
Before that, we will create the linked service that will give us access to the keyvault. In the menu of your ADF, follow “Manage” and then “Linked Service”, and finally “+New”.
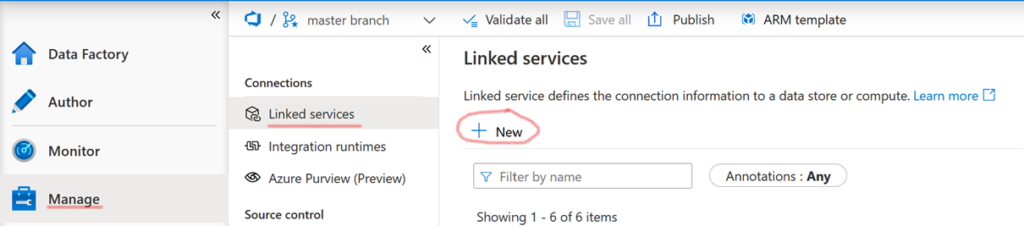
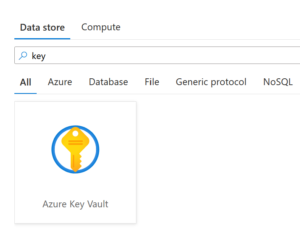
Next, select “Azure Key Vault”.
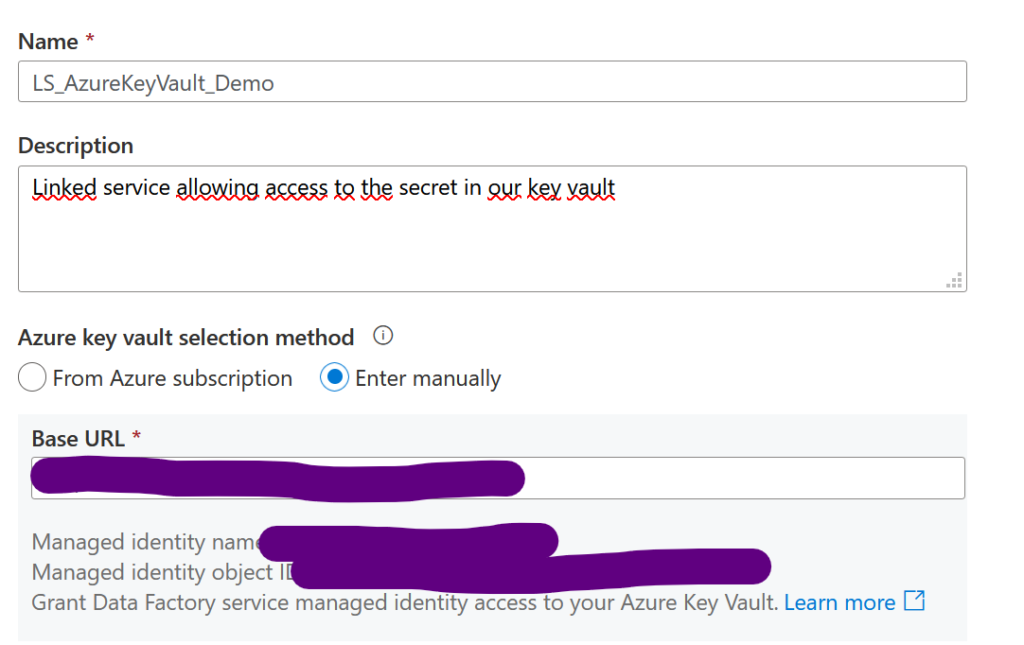
Choose the name of your linked service, and then enter the URL of the target keyvault (for it to be configured). You can find it in the “Overview” tab corresponding to the keyvault under “Vault URI”. You do not need to do anything else, since we have already authorized our ADF to access the secrets of the keyvault.
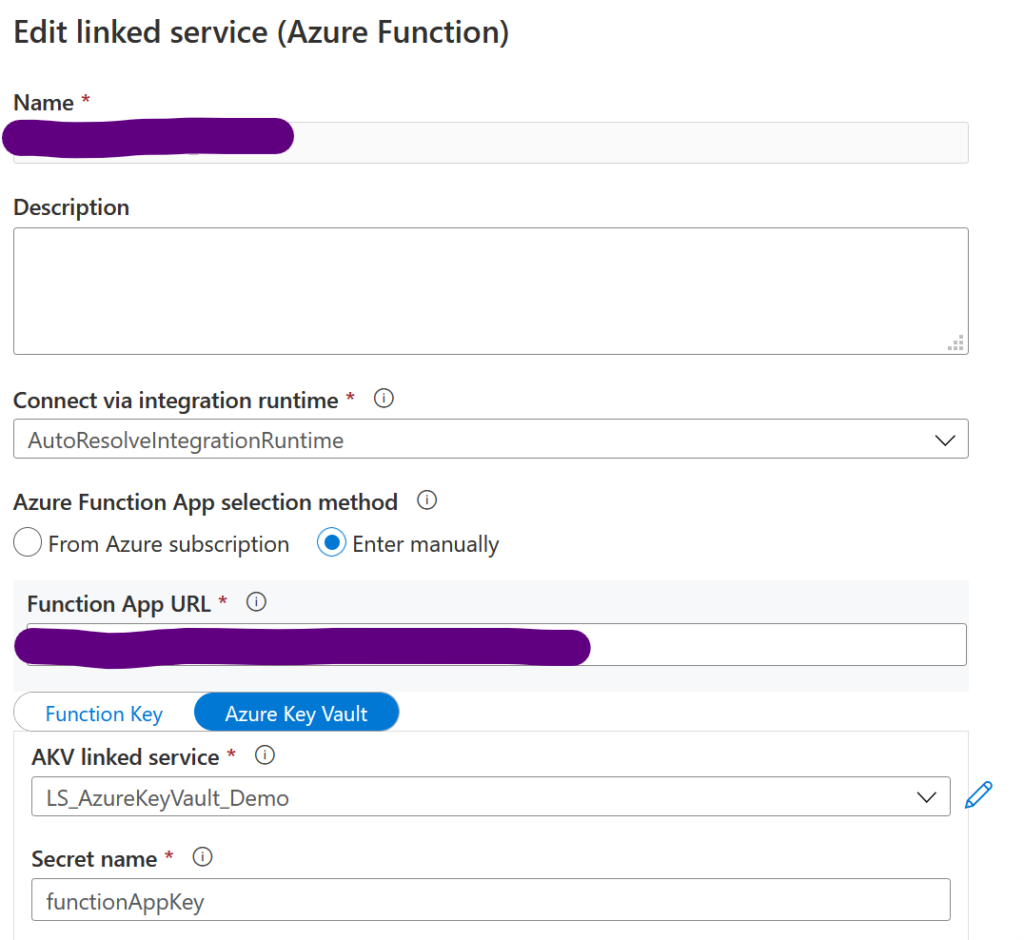
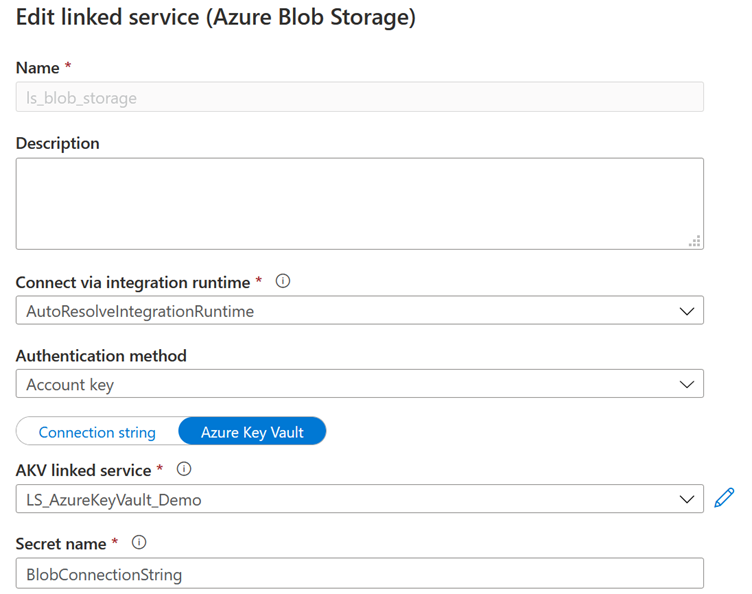
Then, when you create your datasets, you can go through this linked service. Here are two examples, for an Azure Function and an Azure Blob Storage:
In this case, we use both a URL and a secret containing the function app key. Both will be variabilized.
In this case, we simply use the Blob Storage connection chain, stored in the keyvault.
Once again, you can change the ARM generation template, if you don’t want to use a keyvault, for example. But this can be tedious, requiring changes for each new pipeline, dataset, or data flow… I therefore recommend doing this only as a last resort.
Now that our source ADF is linked to a Git directory, our keyvault is supplied with the various necessary secrets, and our datasets are correctly configured, all that remains is to use the auto-generated ARM templates in a deployment pipeline:
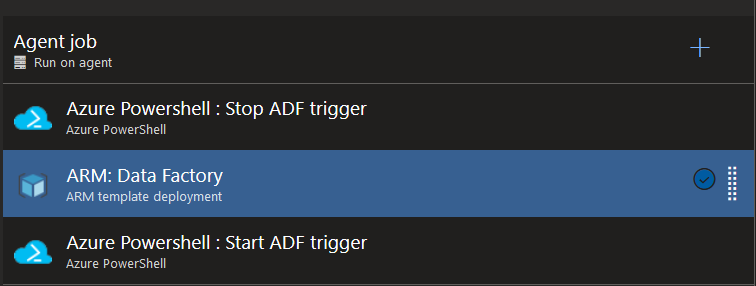
The first and last tasks are optional. They are only necessary if your ADF contains triggers. If so, they must be deactivated and then reactivated after deployment. In either case, an Azure PowerShell task is used with the following scripts (ADF_name is the name of the ADF and ResourceGroupName is the name of its resource group):
$triggersADF = Get-AzDataFactoryV2Trigger -DataFactoryName $(ADF_name) -ResourceGroupName $(ResourceGroupName)

$triggersADF | ForEach-Object { Stop-AzDataFactoryV2Trigger -ResourceGroupName $(ResourceGroupName) -DataFactoryName $(ADF_name)  -Name $_.name -Force }
$triggersADF = Get-AzDataFactoryV2Trigger -DataFactoryName $(ADF_name) -ResourceGroupName $(ResourceGroupName)

$triggersADF | ForEach-Object { Start-AzDataFactoryV2Trigger -ResourceGroupName $(ResourceGroupName) -DataFactoryName $(ADF_name) -Name $_.name -Force }
The remaining task uses the auto-generated ARMs available in the adf_publish branch (by default), in the folder named after your development ADF. You will find two files there: ARMTemplateForFactory.json and ARMTemplateParametersForFactory.json, which are the ARM template and its parameters, respectively.

Then we just need to variabilize the parameters of these files, i.e. the name of the ADF and the URLs. If you use one keyvault per environment, you do not need to variabilize the names of the secrets. Otherwise, remember to do it (they are already considered parameters of the ARM). Then it’s done! All that is left to do is to duplicate this deployment pipeline for each environment.