
This article will demonstrate how to deploy a BizTalk application on a BizTalk ‘On Premise’ server following generation of artifacts in Azure DevOps.
The BizTalk Server Application project chosen for this demonstration is described in this article, and the artifacts used are those generated in this article.
To undertake the operations described in this article, an Azure DevOps account and a Visual Studio 2015 license are both necessary, plus BizTalk 2016 Developer Tools (Feature Pack 2).
A Self-hosted Windows agent needs to be created to be able to interact with an On Premise server. This agent will be used to execute the deployment of our application on the server in question. To do this, go to the Organization Settings/Agent pools section in Azure DevOps:
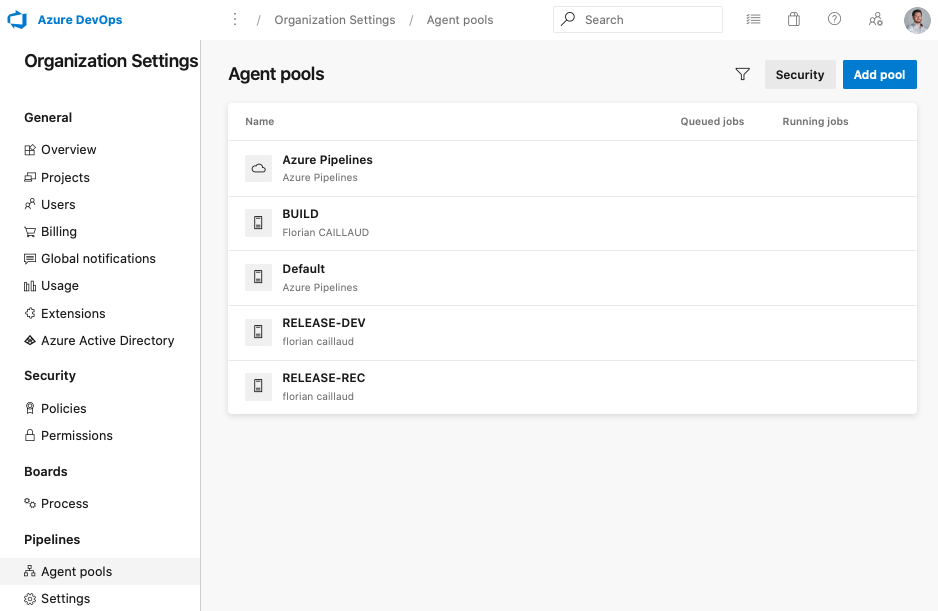
We are going to create a pool of agents by clicking on Add pool. It is possible to have more than one agent working in parallel. However, in this case, only one agent will be needed.
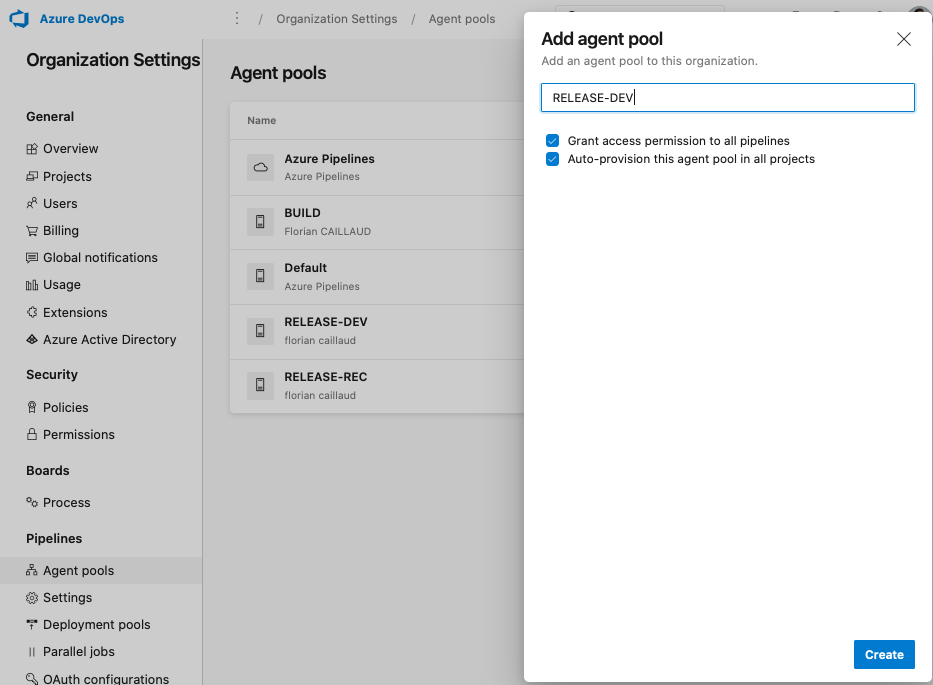
After entering the pool name, check that it will have the necessary permissions to access our future release pipeline. We are also going to provision the pool for the desired Azure DevOps project.

In the Agents tab within the pool, we are going to click on the New agent option.
In the pop-up that appears next, in the Windows tab, Azure DevOps supplies the agent for downloading and explains how to install it on the target server. The specific documentation for this installation is to be found here.
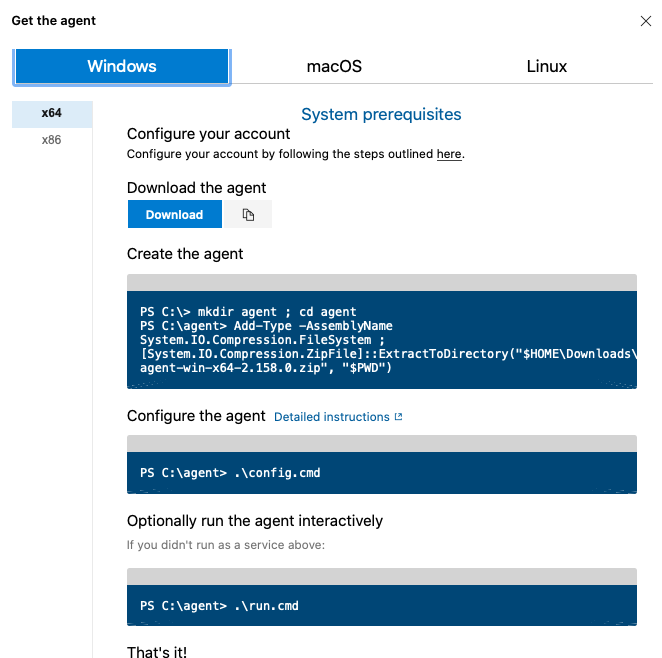
During agent installation, it is proposed to execute it as a Windows service (which is recommended). It should also be noted that the user selected for this service needs to be a BizTalk administrator so that the future release pipeline runs without error.
To finish, it might be necessary to go into the Azure DevOps project Settings, under Agent pools, to add the pool of agents by selecting existing pools.
Once the agent is available, we can start to construct our release (or deployment) pipeline.
In the Azure DevOps project’s Pipelines/Releases section, click New pipeline.

We are first offered pipeline templates for the deployment of a number of frequently-used “featured” components. Unfortunately, in our case, Empty job must be selected (at the very top):

Our pipeline, which is currently empty, comprises 2 parts, i.e. artifacts and stages.

A release (deployment) pipeline needs elements to deploy. These elements will be artifacts as described here. We are therefore going to select these elements by clicking on Add an artifact, and further selecting a source type of Build, the project containing the build pipeline constructed in this article and, lastly, the artifact containing the .zip archive that is used for release.

We can see our artifact once Add is clicked. It is possible to have more than one artifact as input to a release pipeline. In the same way as build pipelines, we can configure the triggering of the release pipeline (at a given time or date, at the end of the build pipeline execution, etc.).
The second part of our pipeline relates to stages. Stages are used to run a list of actions. A stage is typically a logical division which equates to an environment. This means the same artifacts can be deployed (released) in different environments (e.g. DEV, TEST, UAT, PROD, etc.).
So the first thing to configure is the stage name, by clicking on Add a stage, and the stage owner.

In the stage, by clicking on the “1 job, 0 task” link, it is possible to configure the various tasks to be carried out in our environment:

A number of jobs can be run within one stage. Each job is managed by an agent pool. In our case, only one job will be needed. However, you have to tell the job to use the pool created earlier.
To finish, by clicking on the + sign for the Agent job, we are going to add a BizTalk deployment task.

We also need to configure this task. Firstly, the deployment type must be selected:
| Create new BizTalk Application | Releases a new application. If the application already exists, it will be shut down and uninstalled, and then reinstalled. |
| Update an existing BizTalk Application | Concatenates changes, such as schemas or maps, onto a still-active application. It does not completely redeploy the application. |
| Install BizTalk Server Application | Installs the application on the server (in the GAC). |
Secondly, the URI of the release .zip archive within the corresponding artifact has to be entered.

We can then save our pipeline.
To complete these explanations, it should be noted, in the same way as for build pipelines, that it is possible to configure the triggering of stages, the variables that are used in the pipeline, and the retention of various releases.

It is also possible, however, to set up confirmations by e-mail, by clicking on the cells to the left and right of the stage. The benefit is twofold. Before executing a stage, a group of people can be asked for confirmation. And after release in one environment, confirmation is requested that, functionally, the deployment worked properly, and the stage is consequently approved. It is possible to set up automatic redeployment of the last valid release for cases when post-deployment confirmation is denied.
Once our pipeline has been constructed, it can be launched by creating a release. This can be achieved either in the pipeline editor, or from the list of the different pipelines using the Create Release button.
The deployment will then runs, and deploys the BizTalk application on the target server.
It is possible to monitor the deployment’s progress in real time, by clicking on the release. Information about the input artifacts and variables used is shown.

Hovering the mouse over the stages makes it possible to click on Logs and consequently see the details of deployment progress.

Azure DevOps supplies a list of the latest releases and their status (success or failure) for each pipeline. The number of releases shown in the history is directly linked to the retention policy defined within the pipeline, under the “Retention” tab.

This article can therefore be used to set up automated deployment of BizTalk flows. These deployments are traceable and consequently offer real control over the code deployed in each environment.
To conclude, we have deployed a BizTalk flow here, but it is obviously possible, within a stage, to include the release of other elements linked to the flow (Web apps, databases, files, etc.).